
Continuing with the 'These are a few of my favorite things' theme, I have a few cool things to share about Google Slides! If you aren't using Google Slides yourself, these are great tips to share with students working on a presentation in your class!
#4 Google Slides Themes - Use Slides Carnival!
Whether you are creating your own Slides for the classroom or having students create Google Slides presentations, the themes available within Google Slides themselves are....well, BORING!
Slides Carnival is a website that provides all kinds of beautiful Slides themes for free! You can look at all their themes, or search by category.

Once you have selected a theme, just click 'Use as Google Slides Theme'.

You will be directed to 'Make a copy' of the Slide Deck.

Now you are free to change the Slide Deck as you wish! A few things I really like about the Slides Carnival themes:
Prebuilt presentation -
The theme pages are ordered to make a great presentation! Unlike Google Slides or Powerpoint themes, they have content presentation built into the template! I have always seen this slide pictured below, which we all need to be reminded of. This helps reinforce good presentation building techniques if you are using Google Slides with students.

Examples -
Their example pages are interesting and engaging. They are great exemplars!

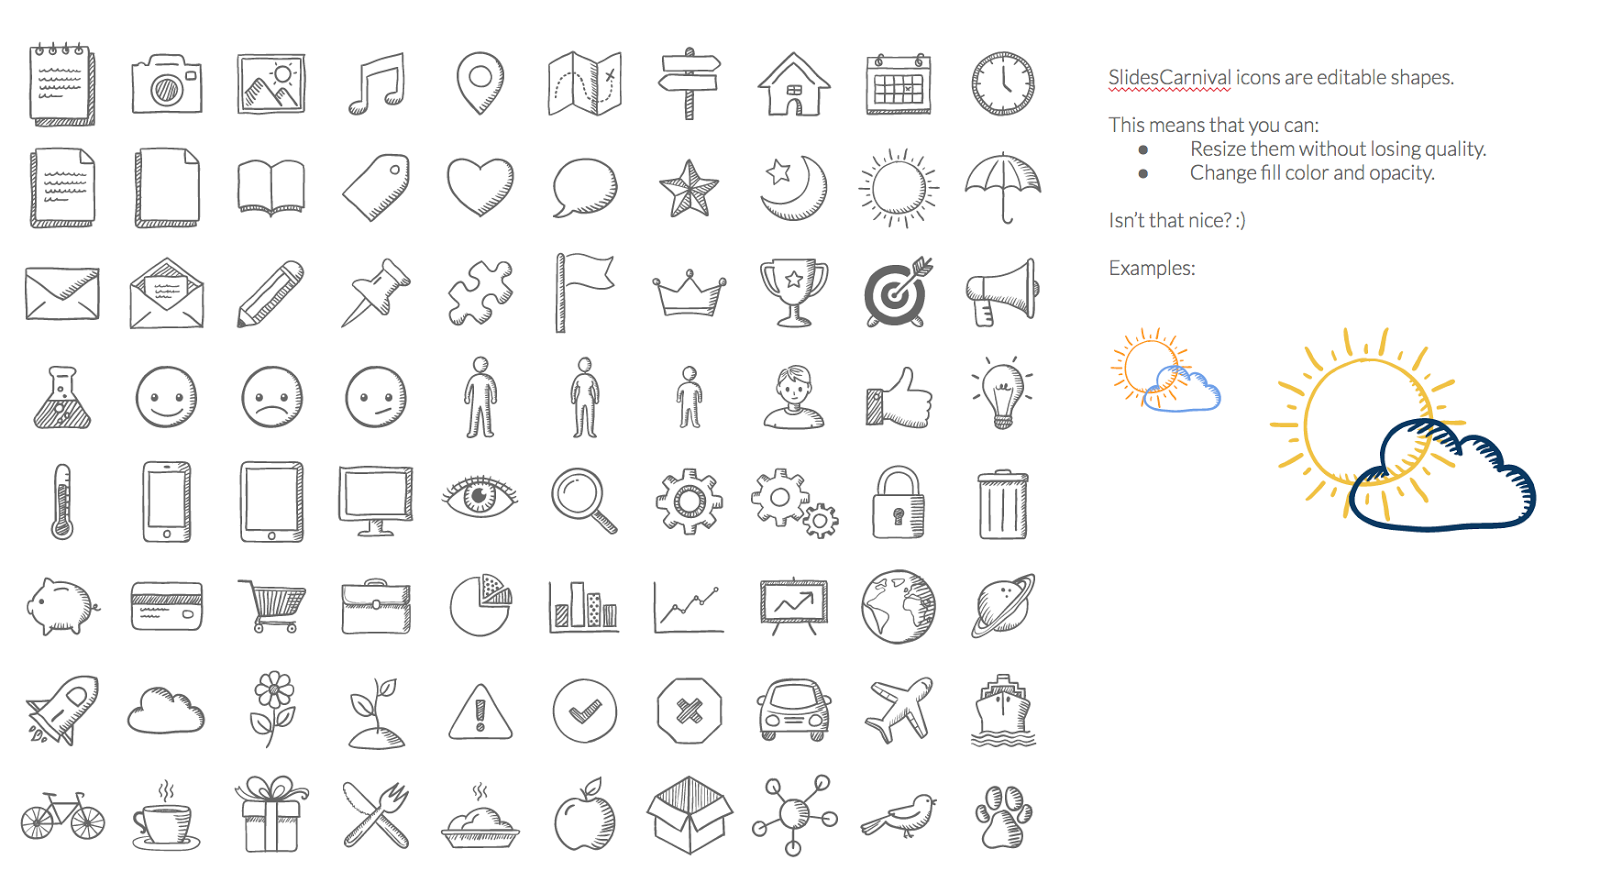
Include Shapes & Emojis with each presentation -
The last few pages of the theme include shapes and emojis that you can use, resize, and recolor using the Google Slides image tools!

#5 - The Shape tool in Google Slides
The Shape tool in Google Slides really makes it easy to draw your audience's attention where you want it. Because I often write directions, I find them really useful!
Using the Shapes tool, select your desired shape.

Click and draw the shape on your presentation. (Your cursor turns into a crosshair. Click, drag, and release to insert the shape!) Once added, you will have the opportunity to change the fill color and outline color of the chosen shape.

- Bucket tool controls fill color
- Pencil tool controls outline color
- Third tool controls line thickness
- The last tool defines the type of line outlining the shape
Notice below how the arrow draws your attention to the Shapes tool in the Google Slides toolbar!

You can choose transparent fill when you want to draw attention to something within the shape!

Google secret - these same tools are available in Google Drawings! If you want to include shapes and an image in a Google Document, you can create a Google Drawing with the image and the shapes. Just download it as a .jpeg image file to add to your Doc!
#6 - Linking Google Slides: Automatically update the same slide in a different slide deck:
Do you ever have the same slide in different slide decks? What happens to one slide if you update the other? If you want consistent information on the slide in both slide decks, you can now link slides to ensure they both update! Copy a slide, and paste it into a new slide deck.
 |
| Image Courtesy of TechRepublic.com |
When you paste the slide, you will be prompted to choose whether to link the slide or not.

If linked, changes made to the original slide will be reflected on the other slide as well!
#7 Slides with Charts or Tables linked to Sheets are automatically updated:
Do you have data you want to present in a Slide that may change over time? You can link Google Sheets to charts or tables on a slide. Changes made to the sheet will automatically reflect in the table or chart! This is particularly helpful if the information on the sheet is dynamic - you always have the most current and accurate information on your slide deck! Click here for more specific directions!
Comments
Post a Comment